The KIS method

Four positions. Then we take them away.

Hitting gets over-coached. Kids collect ten cues and freeze. This program does the opposite. We teach four still pictures, film them every day, then drop the contact freeze, then the load, until the only thing left to hold is a balanced finish — and then the swing is just the swing.

No stride

A stride moves the head. A moving head cannot see the ball.

Bat in the fingers

Not the palms. The bat is an extension of the hand.

Front foot closed

That is the balance point. Open it and the power leaks out.

Arms stay bent

Bent arms are power. Extended arms have none.

Athletic Stance

Stage 1

Athletic Stance

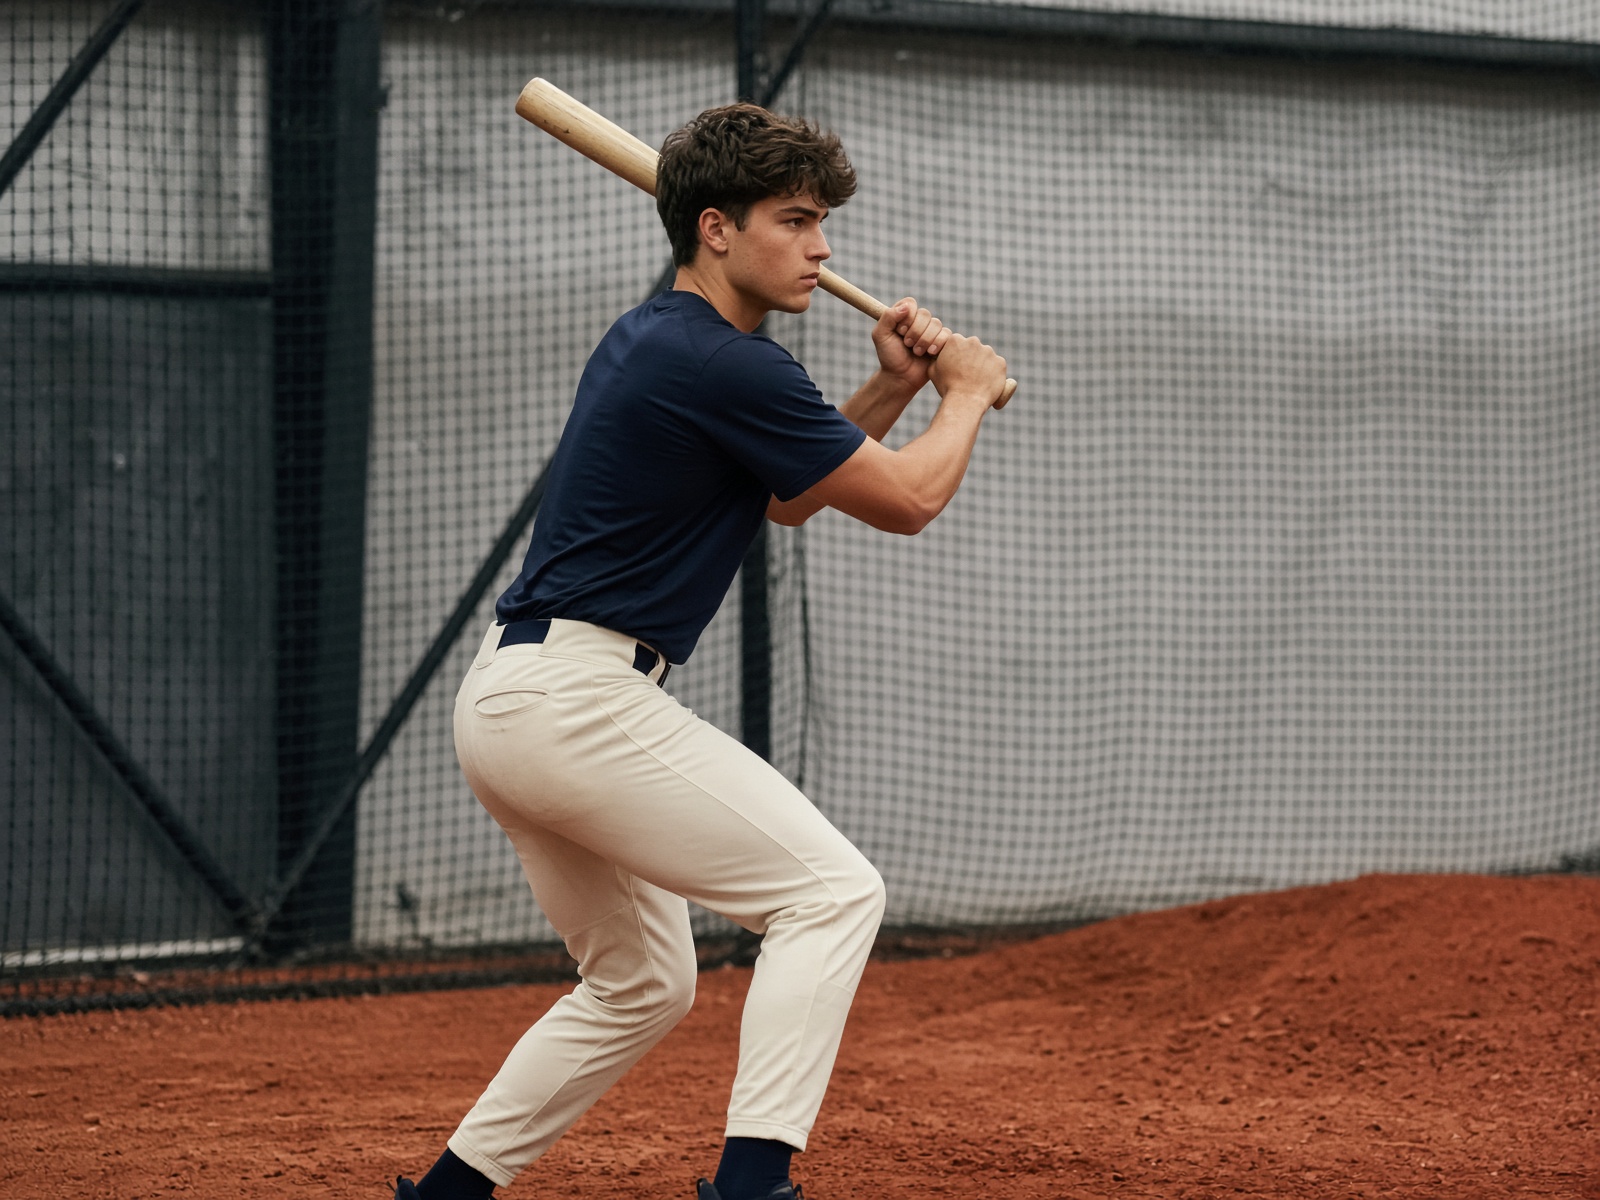
Eyes level. Bat in the fingers.

Start with the feet. Place them a shoulder and a half width apart with the feet facing forward. Keep the knees slightly bent so you are in a good athletic position — similar to the defensive stance in basketball or the ready/receiving position in tennis. Stay balanced on the balls of your feet.

Keep the head level. Hold the bat in the fingers (not deep in the palms). The elbow does not need to be up — when the elbow is forced up, the bat usually ends up out of the fingers. Keep the shoulders level and hold the bat just off the shoulder at the top of the strike zone. Eyes must stay level.

Ready — like a tennis player waiting on a serve. Quiet. Balanced. Eyes level.

  • Feet a shoulder and a half width apart, facing forward
  • Knees slightly bent — athletic, on the balls of the feet
  • Head, eyes, and shoulders level
  • Bat in the fingers, just off the shoulder at the top of the zone
  • Elbow is not forced up
The Load

Stage 2

The Load

Hands back two inches. No stride.

With the bat already off the shoulder, move the hands back approximately 2 inches. Shift your weight so that 60% is on the back foot and 40% is on the front foot. There is absolutely no stride. Striding causes the head to move and makes it harder to hit the ball.

The most important things in hitting are keeping the eyes level and on the ball. In this loaded position, the top hand should be in the same position as if you were about to throw a punch — this is your strongest position to hit the ball.

Loaded and still. The top hand feels like it is about to throw a punch.

  • Hands move back about 2 inches — nothing more
  • Weight 60% back foot, 40% front foot
  • No stride. Head still. Eyes level and on the ball
  • Top hand in punch position — strongest place to hit from
Contact

Stage 3

Contact

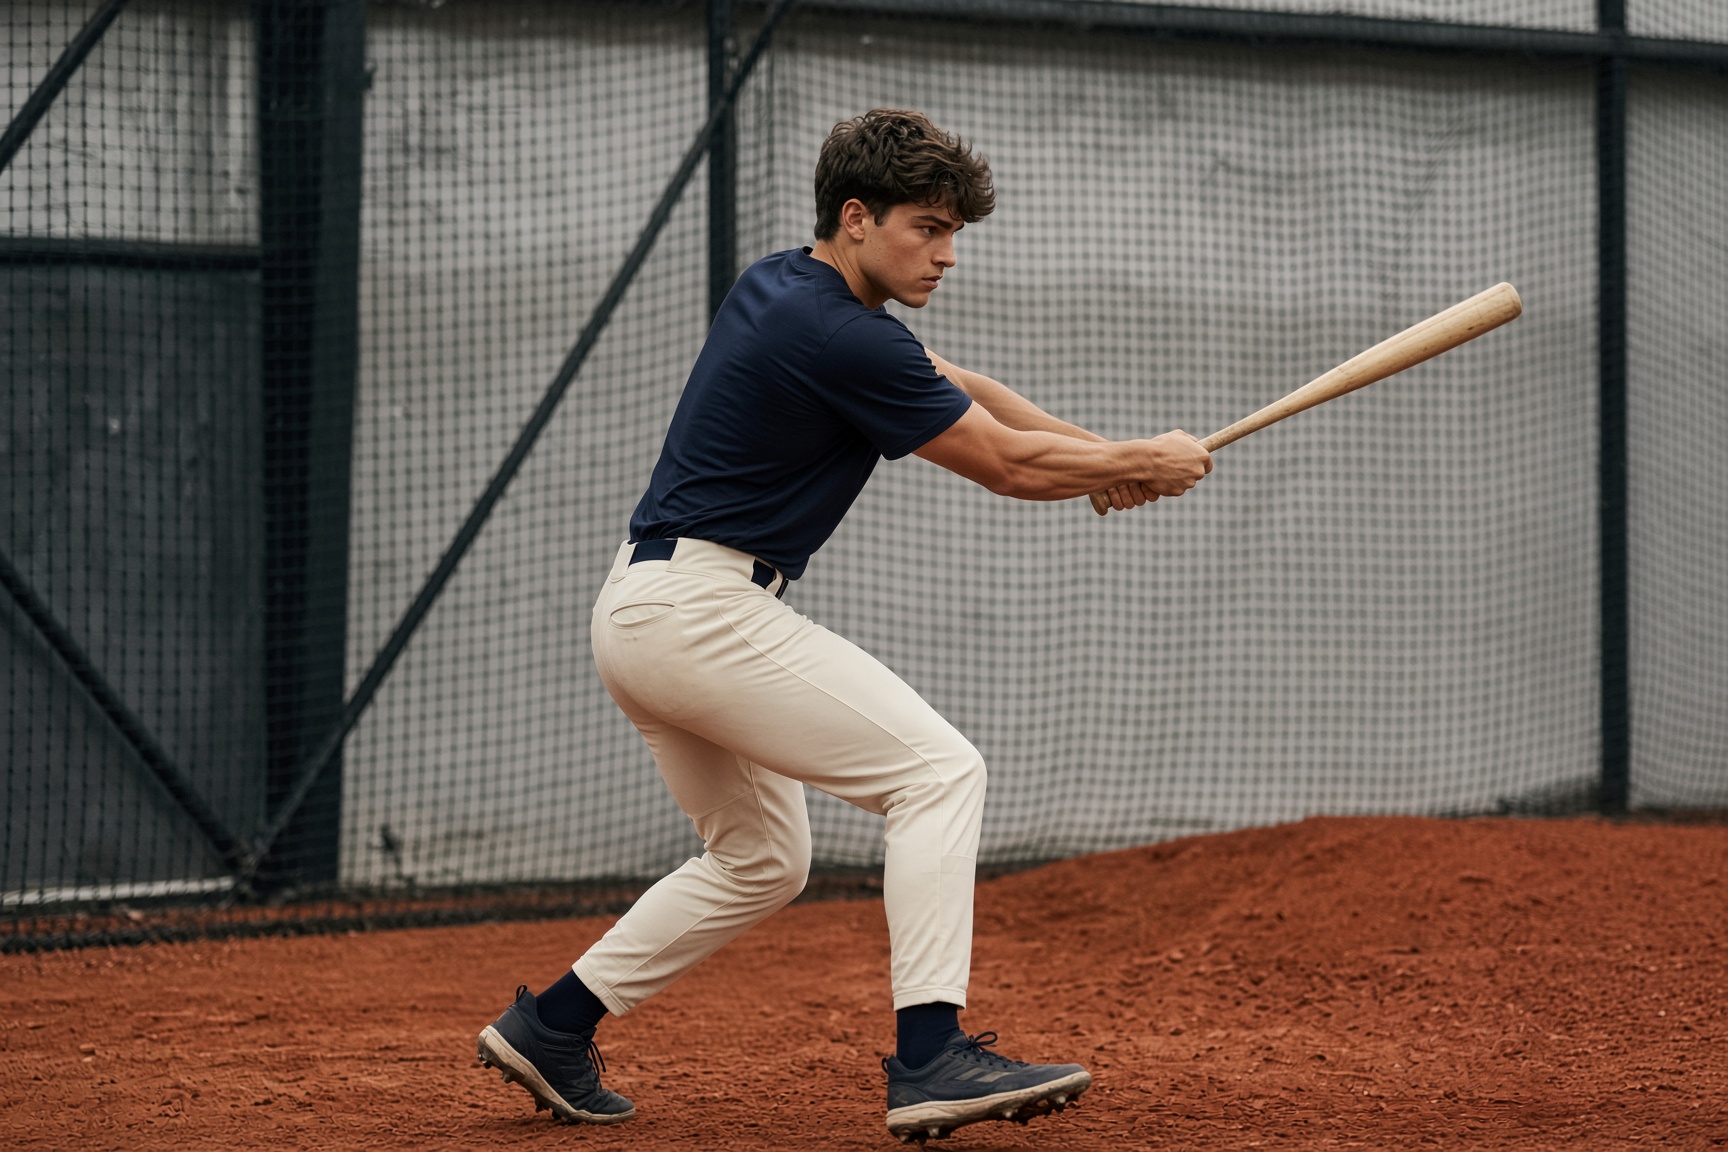
Front foot closed. Arms bent.

This is the position where we hit the ball. Bring the bat off the front hip. Keep the front foot closed — do not open it. This is the balance point that generates speed around the ball. You have to have balance with the lower half — that’s where your power comes from.

In this position you should be balanced. You should be able to take your finger and push on the batter and he should not move. To check if it is correct, open up the front foot and barely push him — if he falls over, his front foot is not closed. If the front foot stays closed, he will have balance, which generates power to the ball. When that front foot is closed, you should be able to push the batter and have him not move at all.

The back foot should be basically squashing the bug, with the big toe and laces turned toward the front foot. Hold the bat in the fingers like a golf club — the bat is only an extension of your hand. If you do not know where the clubhead is, you are not consistently hitting the ball.

Both arms should be bent. When the arms are bent, that’s where your power comes from — if your arms get extended, you have no power. The bat should be above the hands. This trains you to understand where the bat (clubhead) is and eventually helps you put the top hand through the ball.

Push test: a finger on the chest should not move you. Closed front foot = balance = power.

  • Bat comes off the front hip
  • Front foot stays closed — do not open it
  • Back foot squashes the bug (big toe and laces toward the front foot)
  • Both arms bent — never locked out
  • Bat above the hands, held in the fingers like a golf club
  • Balanced enough that a finger-push would not move you
Finish

Stage 4

Finish

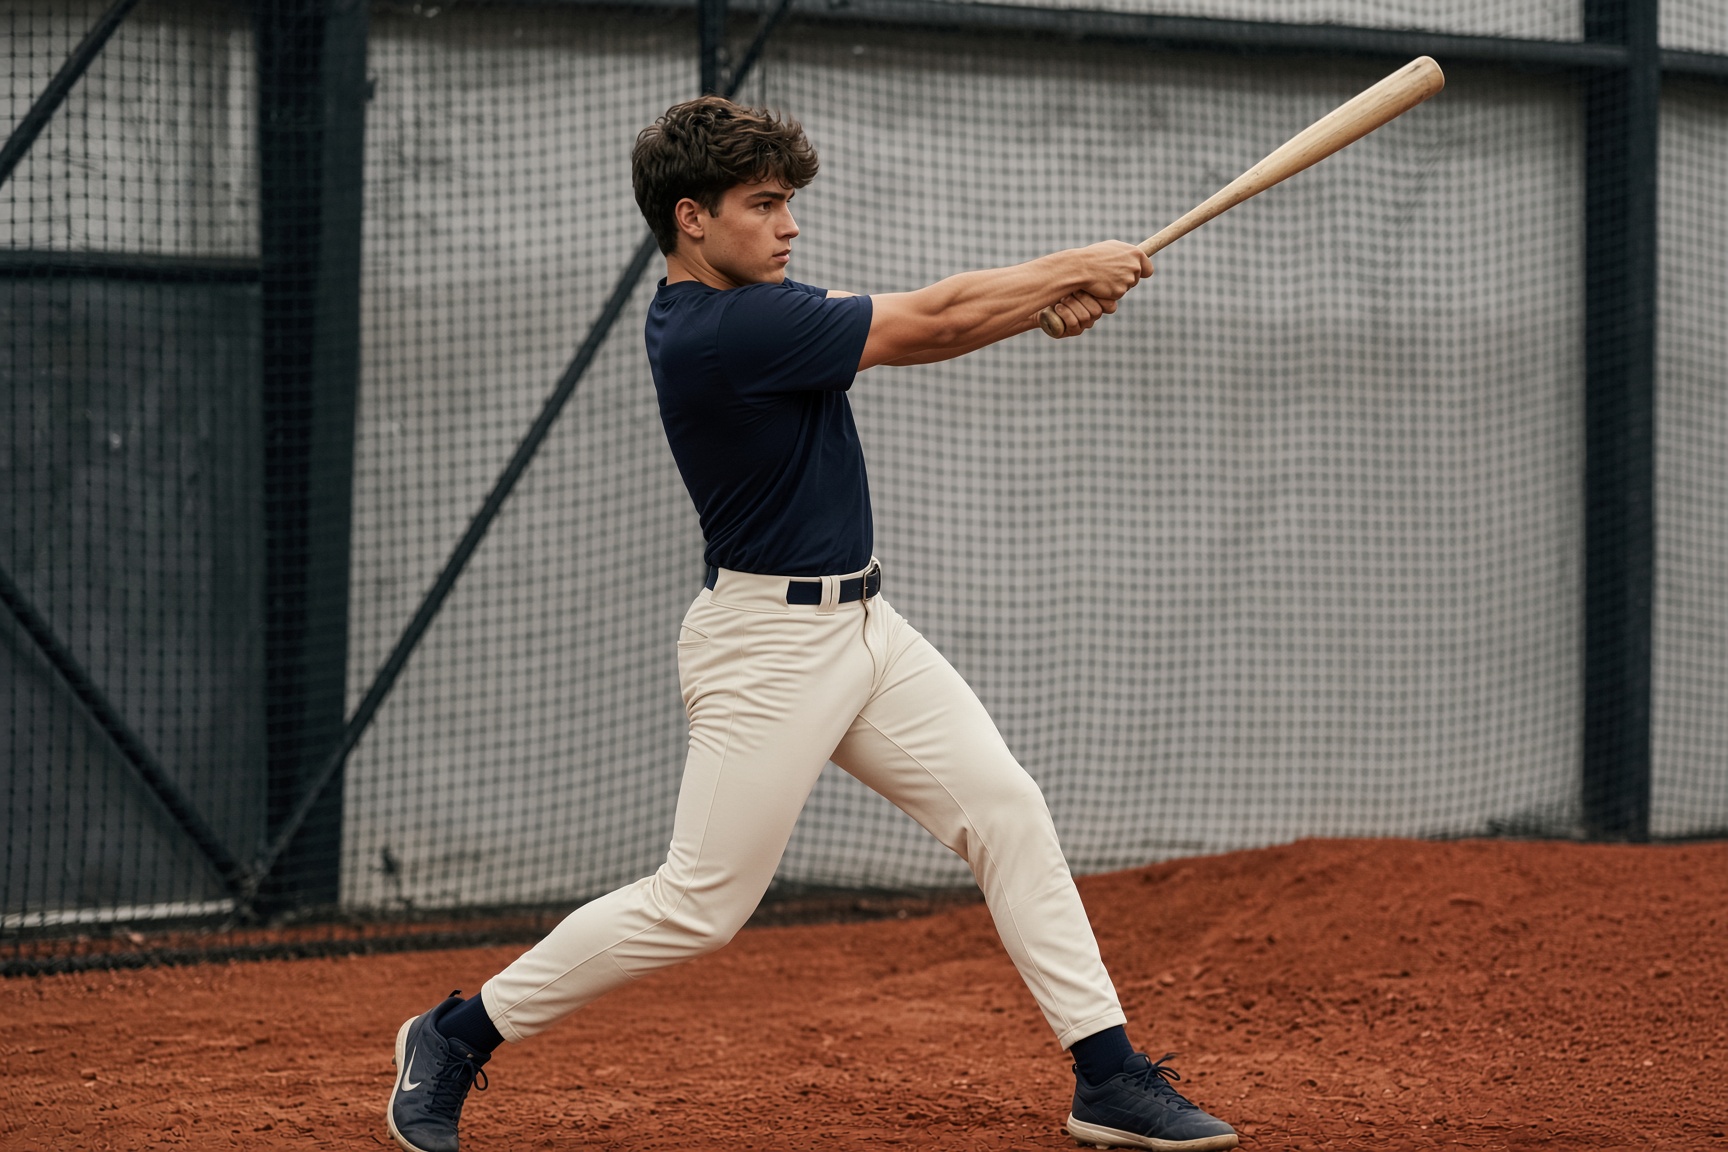
Top hand to the shoulder. Hold it.

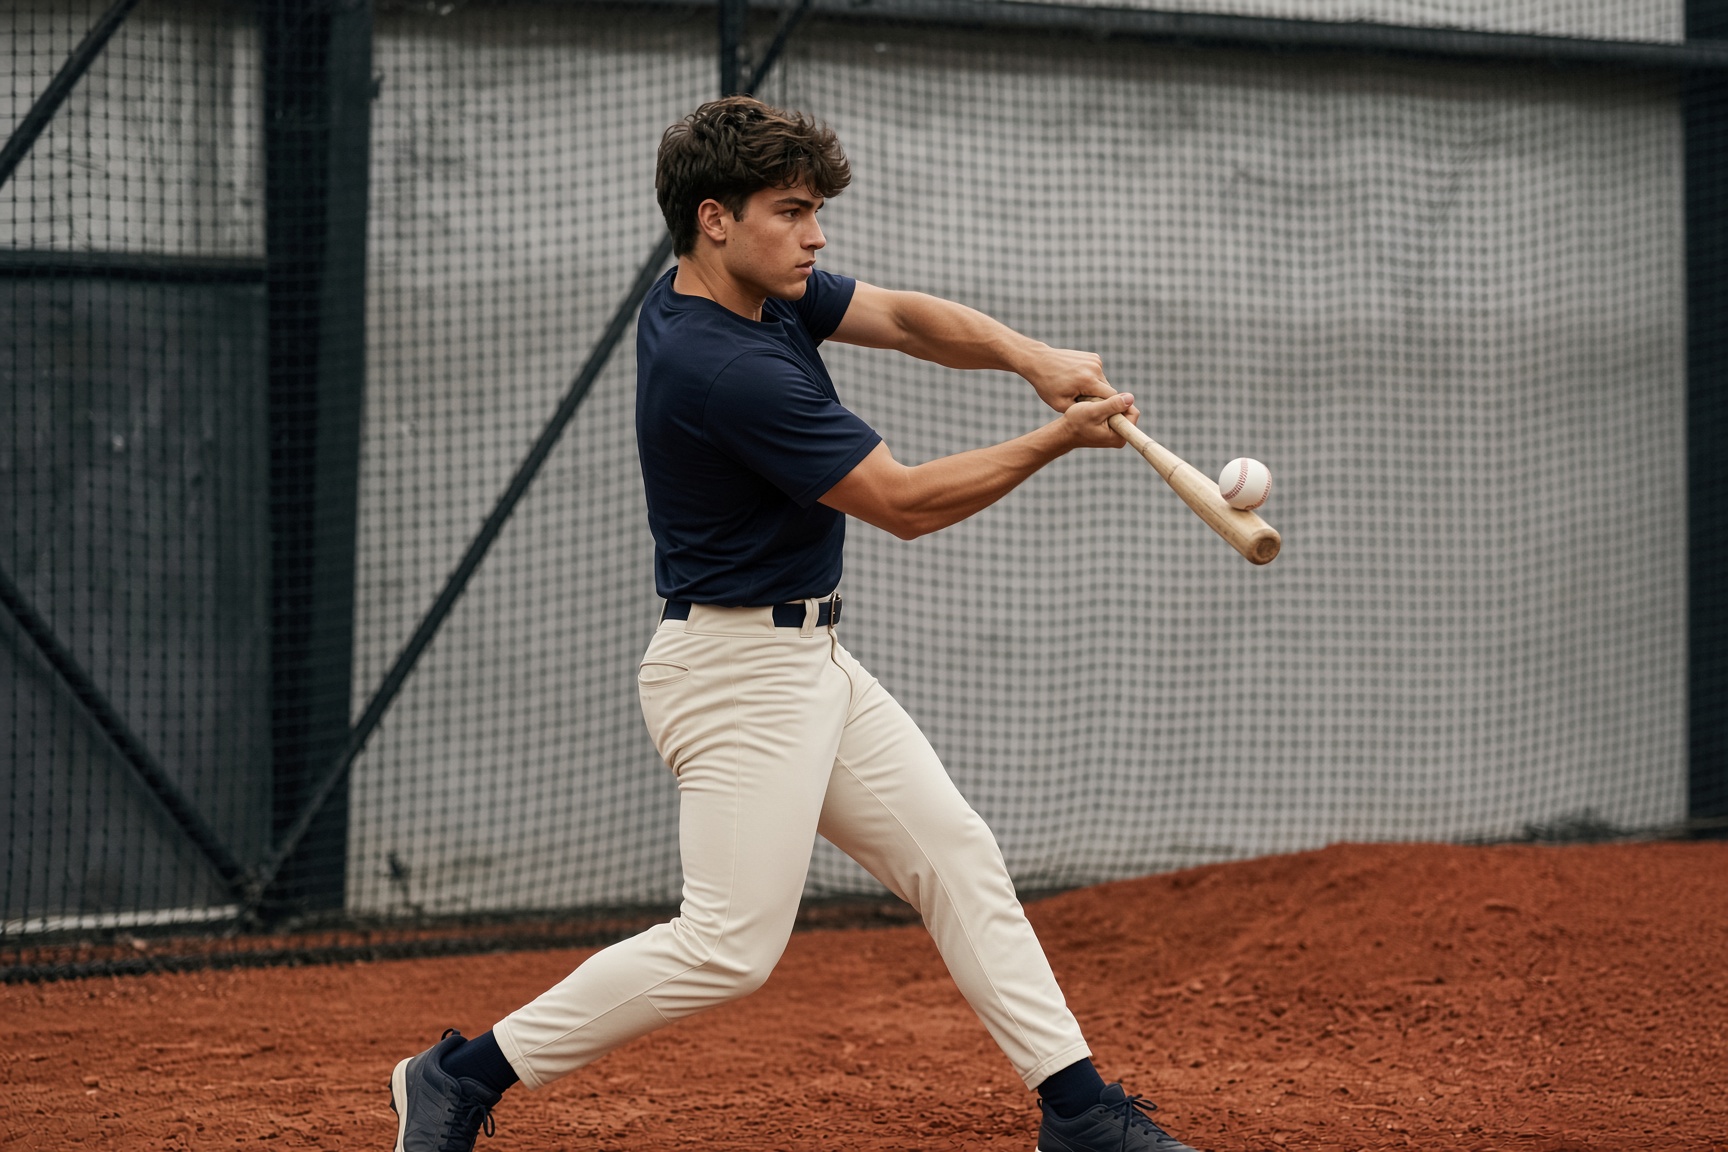
As we start the finish, the top hand should be driving through the ball and then finishes with the top hand on the shoulder, with both hands still on the bat. Do not fall over — you must stay balanced through the entire swing. Must hold that position.

Hold it. If you fall over, the swing was not balanced.

  • Top hand drives through the ball
  • Finish with the top hand on the shoulder
  • Both hands stay on the bat
  • Balanced — do not fall over
  • Hold the position

It will feel unnatural. That is the point.

Building muscle memory

These positions are designed to create muscle memory. When you first start doing them, it will feel really unnatural — that is normal. Most batters have been doing what they’ve been doing for a long time, and that is what their muscles are trained to do.

Think of it like playing a video game. Most kids, when they first start playing, don’t know where the A and the B buttons are. But after a couple of hours, it becomes second nature. That is exactly what we want to create with these positions.

They must be done perfectly, over and over and over again, so the muscle memory is trained. Imperfect reps train the wrong swing. If a freeze is not right, stop, fix it, and do it again. Speed comes after the pictures are true.

The program calendar

One session

Baseline

Before we change anything, we film the swing you have right now. Side view. About eight swings. This is the before — and the first clip in your success story.

5 days

Four-Stop Drill

We teach the swing as four still pictures. Athletic Stance. The Load. Contact. Finish. The athlete pauses at each one, checks it, then moves. Slow is how the body learns. Speed comes later.

7 days

Drop Contact

Contact comes out. Stance is automatic — no freeze there. The hitter loads, swings through contact, and freezes at Load and Finish. The finish must be balanced. Hold it. If they fall over, the swing was not balanced.

7 days

Drop Load

The load is now part of the swing. The only freeze is the Finish. Hold it. Stay balanced. That is the last training wheel — if they can finish in balance, the four positions are in the swing.

Ongoing

Game Swing

The pauses are gone. The four positions are still in the swing — they just happen at game speed. Keep filming. Keep the daily goal. When the before and after are honest, we cut the success story.

  1. Day 0

    Baseline film

  2. Days 1–5

    Four stops

  3. Days 6–12

    Drop contact

  4. Days 13–19

    Drop load

  5. Day 20+

    Game swing